Running Feel++ Applications in the Portal
when running into some strange portal behavior, first try to logout/login from the portal before reporting an issue.
|
1. Purchase a Feel++ application
To purchase an application from the Marketplace you have to be registered and logged in as a EndUser at least.
The process is the following:
-
connect to the Marketplace, in Home (top left Marketplace page) you will find all available apps (All categories).
-
Click on Add to Cart to purchase the app you want.
-
Click on Shopping Cart and Checkout to go on
-
fill the required forms for shipping address
-
provide a shipping address if not already defined
-
provide a billing address if not already defined
-
Finalize your order by clicking on Checkout
-
To use the app, you will have to wait that the owner/seller of the app validate you order. To check the status of your order:
-
go to My Inventory
-
go to Product Orders
You shall be able to see your products and their status in each product form.
| The Marketplace is not available anymore, for technical reasons. For now, all the registered applications can be used in the Experiments section. |
2. Benchmarks and Examples Catalogue
Go to the Feel++ Toolboxes Manual to discover examples and benchmarks for the different Feel++ applications.
3. Running an Feel++ application in Experiments
-
In the Experiments tab :
-
Select Instances
-
select a registered app in the menu
-
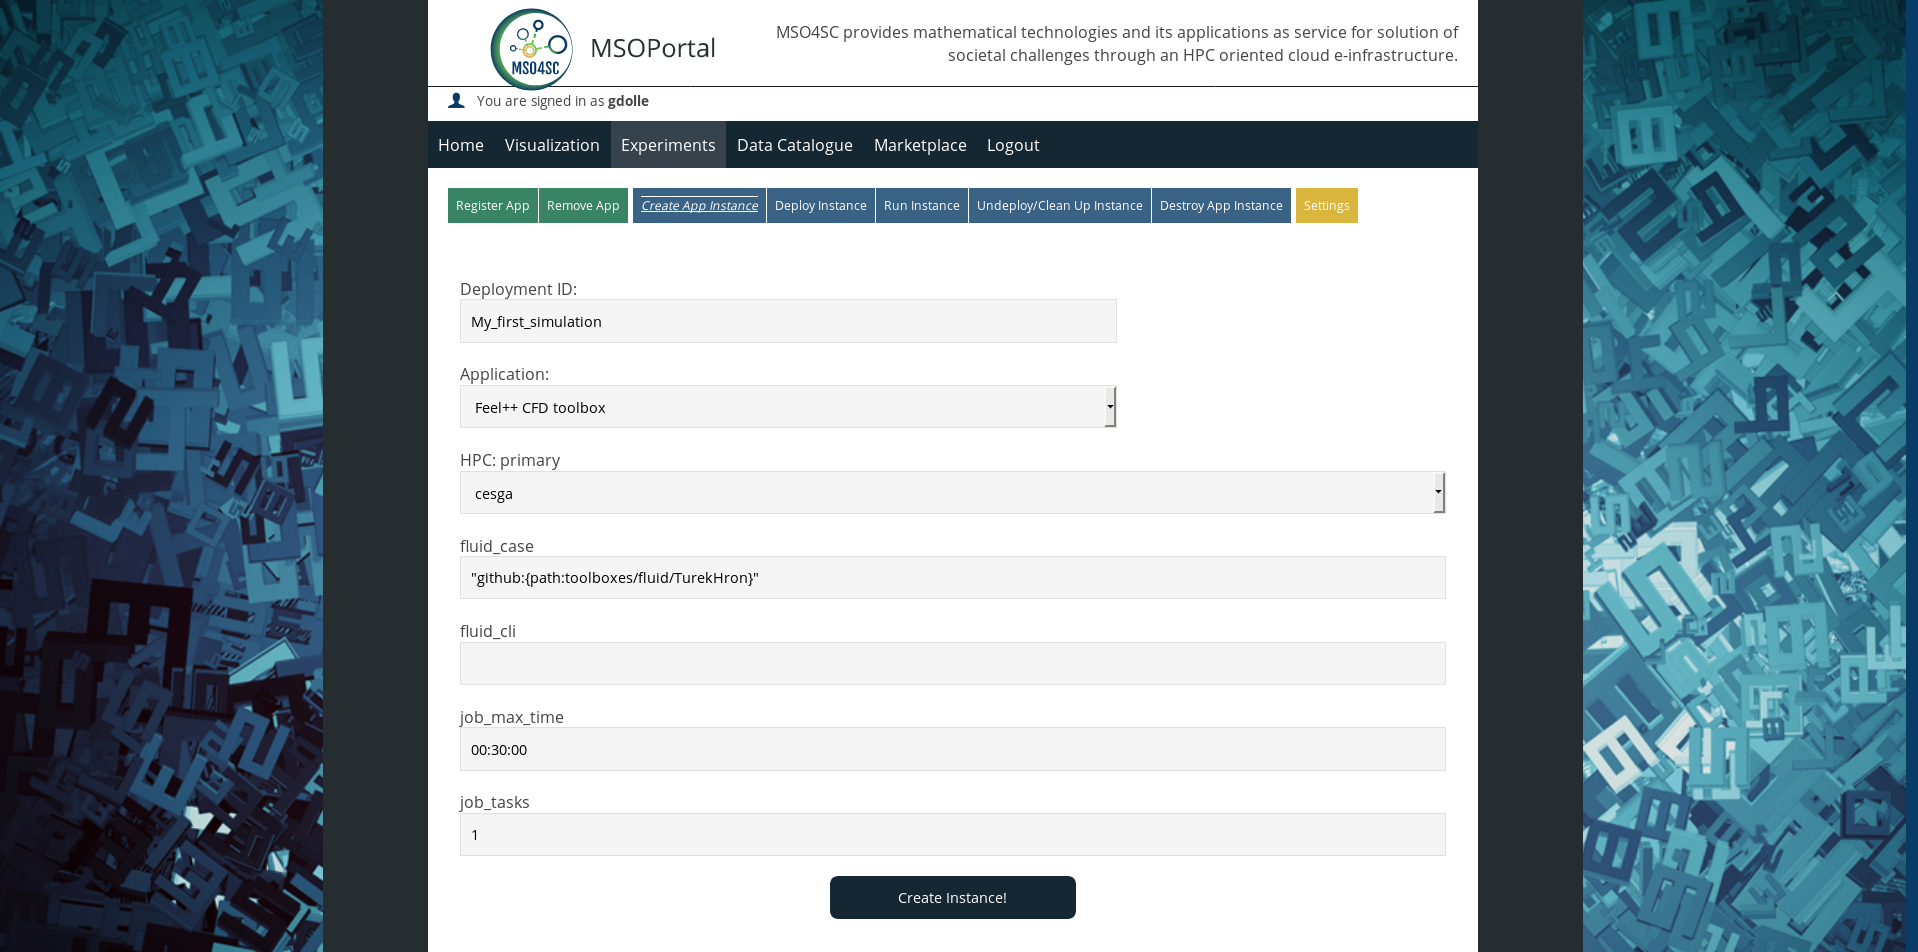
At this point you should have a page with all the options that need to be filled before creating the instance.

The interface above is commun to all the toolbox applications. For each application, default parameters are filled and sould work right away. The only mandatory field to fill is the ID. This ID will be used to identify the instance once it is deployed.
We detail the different field in the following tables. We differentiate the keys specs to run the simulation and the key specs to define the HPC settings.
| Key | Description | Default | Notes |
|---|---|---|---|
feelpp_<toolbox>_case |
string that describe the location of the testcase |
Depending on the toolbox |
A default test-case is proposed but more are availbe in the Feel/toolbox repository |
feelpp_<toolbox slug name>_cli |
command line options |
"" |
For advanced usage only |
| Key | Description | Default | Notes |
|---|---|---|---|
job_max_time |
maximum allowed time for run (minutes and seconds) |
'00:30:00' |
depends on batch system and selected |
job_partition |
partition to be used on the supercomputer |
|
depends on HPC system |
job_tasks |
number of tasks to be used in parallel |
4 |
shall depends on batch system and selected partition |
Once the fields are filled, you can click on Create new Instance. Your application is now in the menu belove with the list of the App’s Instance. You can select your application using the right ID and Run! it.
At this point you will see the simplified logs of the deployement and execution process. Depending on the application and the HPC availability, this step may takes some minutes to be performed. The button will indicate the status of the running process :
-
Blue: on going
-
Red: error
-
Green: application finished successfully.
Once the running process is over you can destroy the current instance and move to the visualization section.
|
If you are facing unexplained errors, please, use the Feedback tool to help us fixing it. |
4. Setting up an Remote Desktop resource in Visualization
-
Go to Visualization
-
Select Settings
-
Define a Remote Desktop resource
Name: cesga
Host: vis.lan.cesga.es
User: [Your cesga user]
Password: [Your cesga password]
Remote Desktop Tools: [select item in the sliding menu]
List command: /opt/cesga/vis/bin/desktops
Create command: /opt/cesga/vis/bin/getdesktop
4.1. Using Paraview with a Remote Desktop
-
Go to Visualization
-
Click Desktop Available
-
Select your Infrastructure in the sliding menu
-
Click on Create
-
Click either on Desktop or View Only
-
[NOTE]: if no Remote desktop is defined, you will receive a warning message. Create a Setting, then go back to this step.
It opens a new web page within your browser. You can now start visualization tolls such as paraview or ensight. Here is the procedure to start paraview, for more information on paraview see paraview documentation.
-
start a terminal (second icone in the top left corner)
-
load paraview module
$ module load ParaView/5.2.0
-
go to the directory where the data are stored. For Feelpp applications, the data are usually stored in
$LUSTRE/mso4sc_orchestrator/<instance_name>/ -
once you are in the proper repository, you can load your data with paraview
$ paraview Export.case
 .pdf
.pdf